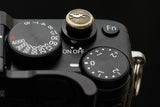
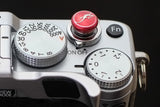
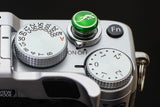
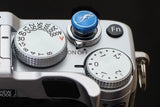
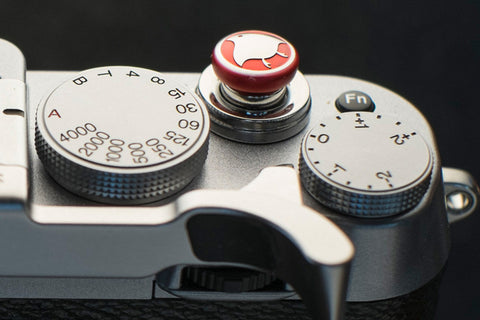
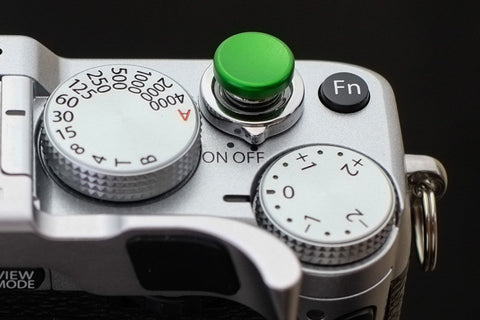
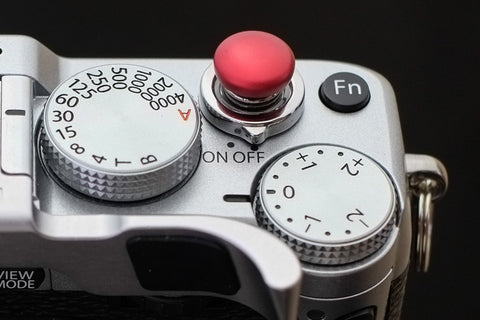
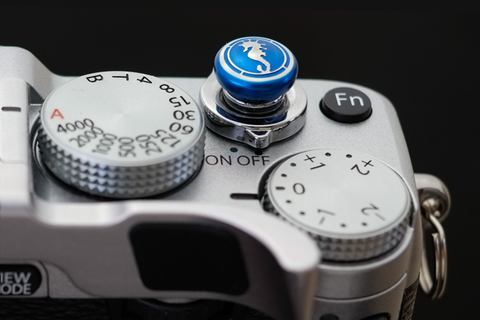
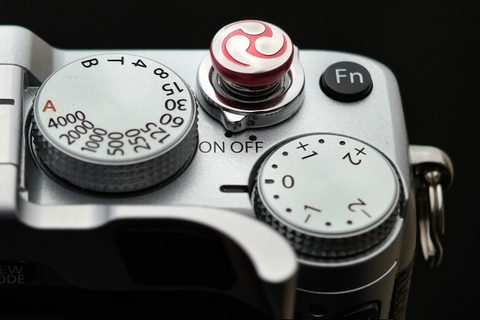
We offer several unique engraved designs, some based on traditional Japanese family crests, in both aluminum and brass.
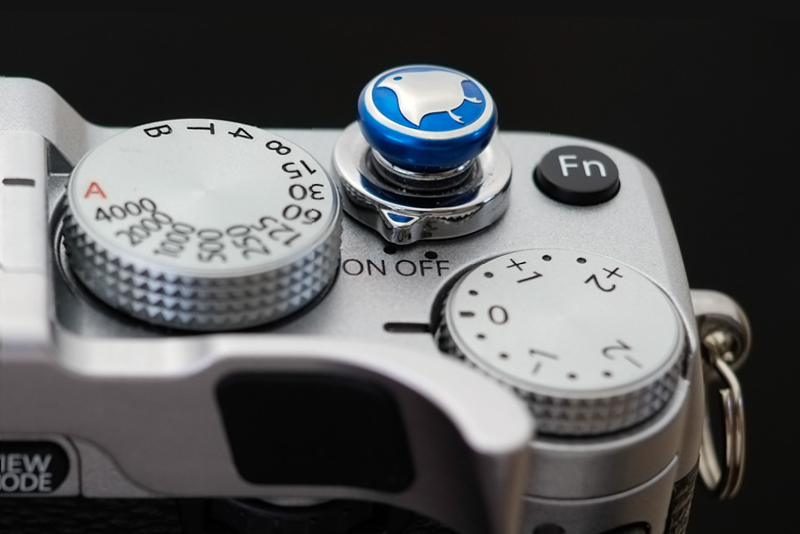 The aluminum models have been color anodized, then the raised portions buffed to a high polish for a striking effect.
 The brass models receive a similar treatment - an overall patina is applied then the raised areas buffed to a high polish for contrast.
All our Lensmate custom soft release buttons come with a tiny O-ring. Once the button is installed correctly, the 0-ring puts a slight amount of pressure against the head of the button, stopping it from unscrewing itself with use.
To Install:
- Place your camera on a hard surface like a table.
- Use your thumb and first 2 fingers to make a tripod.
- Hold the top of the button in your hand tripod, pressing down while turning - be sure to keep the button perpendicular to the camera to avoid cross threading.
- Turn until the button is tight.
Important Tips
It is the nature of release mounts to be very shallow, this is because if they were made any deeper adding a soft release button could interfere with the cameras electronics.
The button is nice and secure when used as intended, pressing down. The button does not do well with sheer forces, so if it is bumped from the side going in and out of a camera bag or caught on a neck strap it can weaken the connection to the camera. This is true of all brands of soft release buttons.
To ensure a secure connection in situations as described above, we would recommend using Vibra-Tite VC3 as it comes in a small container or Purple Loctite which is their temporary low-strength version.
Then follow the install instructions above.
More Soft Release Button Designs
It is the nature of release mounts to be very shallow, this is because if they were made any deeper adding a soft release button could interfere with the cameras electronics.
All our custom soft release buttons come with a tiny O-ring. Once the button is installed correctly, the 0-ring puts a slight amount of pressure against the head of the button, stopping it from unscrewing itself with use.
To Install:
- Place your camera on a hard surface like a table.
- Use your thumb and first 2 fingers to make a tripod.
- Hold the top of the button in your hand tripod, pressing down while turning - be sure to keep the button perpendicular to the camera to avoid cross threading.
- Turn until the button is tight.
Important Tips
The button is nice and secure when used as intended, pressing down. The button does not do well with sheer forces, so if it is bumped from the side going in and out of a camera bag or caught on a neck strap it can weaken the connection to the camera. This is true of all brands of soft release buttons.
To ensure a secure connection in situations as described above, we would recommend using a temporary product like loctite - it will be the blue version. Put a tiny amount of loctite on the buttons threads, not on the camera. You want a very small amount, otherwise you may not be able to remove the button later should you want to.
We Also Recommend

